Check Your Form Before You Step Into the Studio
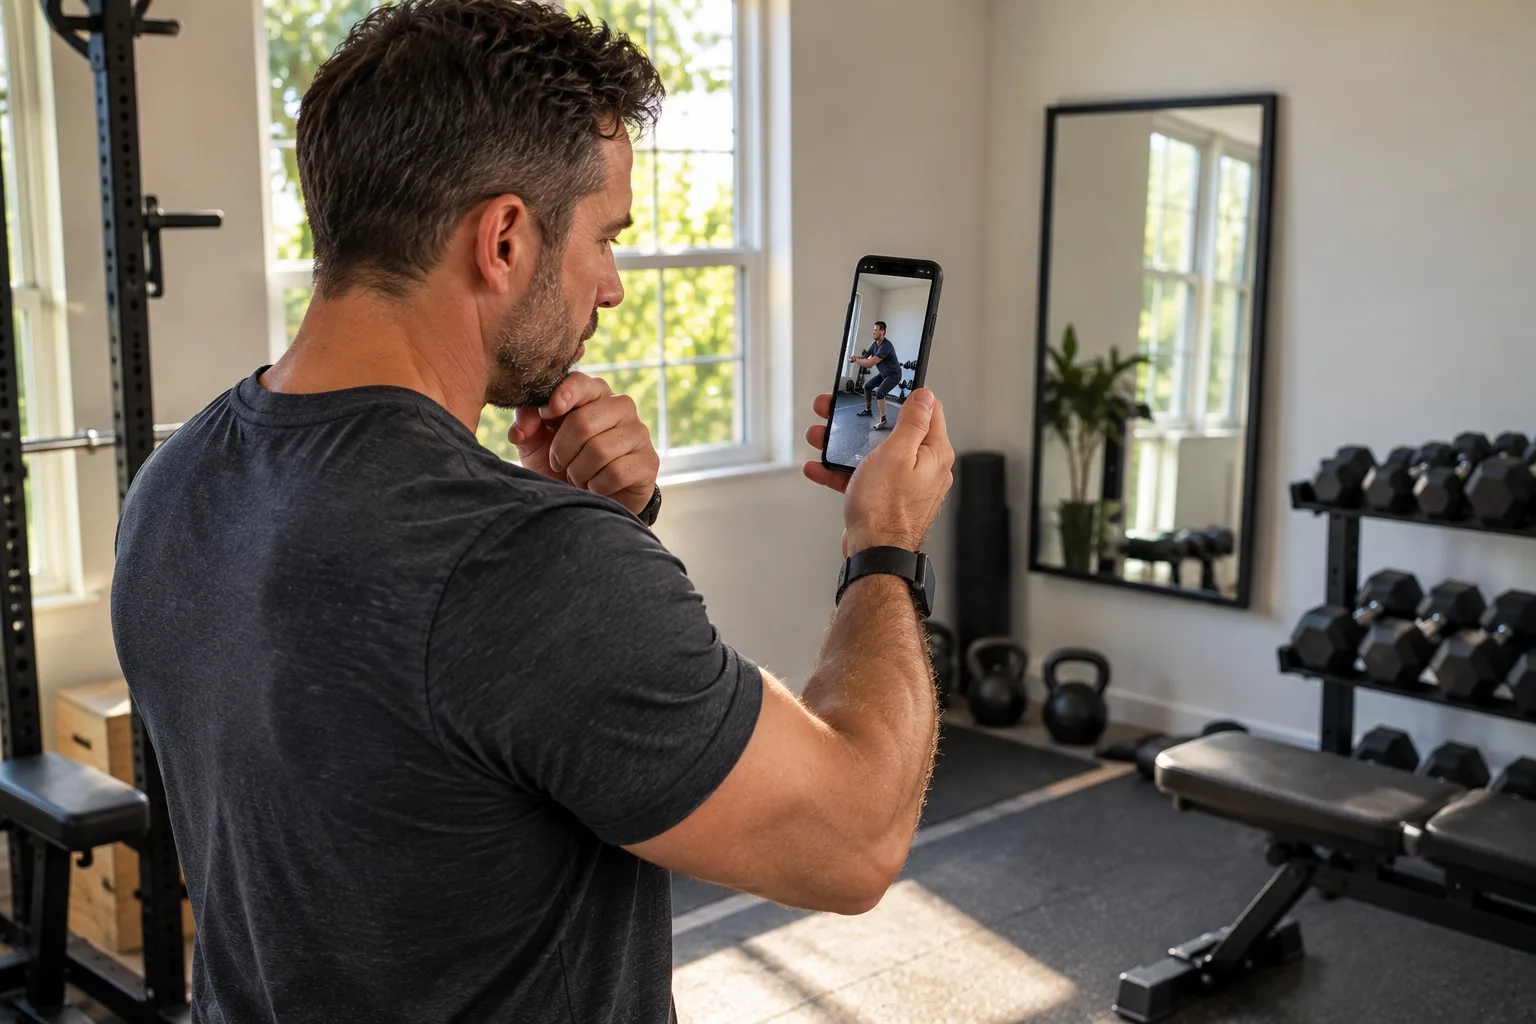
Alt Text: Man reviewing workout form footage on phone before working with a strength training personal trainer in Miami
Check Your Form Before You Step Into the Studio
More adults in Miami are lifting on their own now, in condo gyms, hotel gyms, and living rooms. That is great for convenience, but it can be rough on your joints if your form is off and no one is there to fix it. A quick, at-home form self-audit helps you catch problems before they turn into shoulder pain, low back tweaks, or that feeling of being stuck with your progress.
We want your first session with a strength training personal trainer in Miami to start from a strong base, not from scratch. When you already move well, we can spend more time personalizing your plan and less time fixing avoidable habits. Below, we walk through ten simple checks you can do with your phone, including video angles, helpful cues, and big red flags to watch for.
Fall in Miami is a natural reset point. Kids are back in school, holidays are on the horizon, and hurricane season can throw off routines. This is the perfect time to tighten up your lifting habits so you roll into the holidays stronger, more stable, and ready for smart coaching.
Set Up Your Home Form Lab Like a Pro
You do not need a fancy studio to review your form. You just need a safe phone setup and a clear view of your body.
Try these basics:
- Prop your phone on a tripod, stable shelf, or a solid stack of books
- Set it about 8 to 12 feet away so your whole body fits in the frame
- Angle the camera at chest height, not at your feet or the ceiling
For key lifts, certain angles work best:
- Squats and deadlifts: About 45 degrees from the front and side so you can see depth, knee path, and back position
- Bench press and push-ups: From the side and a 45-degree front angle to check elbow path and shoulder position
- Rows and pulldowns: From the side and slightly above to see your back angle and shoulder blades
Good lighting matters. Face the light so it hits the front of your body, instead of having a bright window behind you that turns you into a shadow. Avoid baggy tops that hide your hips and spine. Pick clothes that contrast with the walls or floor so your joints are easy to see on video.
When you review your videos, keep it simple:
- Watch once at full speed to see general balance and rhythm
- Watch again, pausing at the bottom and top of each rep to check alignment and control
Spine, Shoulders, and Core: The Non-Negotiables
Your spine, shoulders, and core are your base. If these are off, everything else is harder and less safe.
For your spine:
- Standing side view: Ears stacked roughly over shoulders, ribs not flared up, pelvis not tilted way forward
- Squats and hinges: Back stays fairly neutral, no big rounding or big arching at the bottom
- Quick wall test: Stand with your head, upper back, and glutes touching the wall without smashing your low back flat
For shoulders and neck, watch for shrugged shoulders, a forward head, and elbows flying out in pressing. Do you reach with your chin during rows, push-ups, or overhead work? That is a sign your shoulders and core are not pulling their weight.
Core engagement is about ribcage and pelvis. On video, watch for:
- Ribs lifting or flaring when you press, row, or lift overhead
- Low back arching hard as the weight gets heavier
Try this cue: gently brace like you are preparing for a light jab to the stomach, then keep your ribs stacked over your pelvis as you move.
Red flags that call for expert eyes include:
- Persistent low back tightness after even light sessions
- Pinching at the front of your shoulder during pressing
- Neck soreness after upper body workouts
If you see these over and over, it is time for guidance from a strength training personal trainer in Miami, not more random sets.
Lower Body Self-Checks for Squats and Deadlifts
Your feet, knees, and hips tell a clear story on video. For alignment, check:
- Knees track roughly in line with your second or third toe, not collapsing inward or pushing way out
- The whole foot stays on the floor, no heel popping in squats, no toes lifting during hinges and deadlifts
For hip control and depth:
- Squats: From the side and 45-degree angle, see if your hips start the movement instead of just your knees sliding forward. Your torso angle should stay fairly steady, without suddenly tipping way forward at the bottom.
- Deadlifts and hinges: Hips should move back like you are closing a car door with your glutes. Your back stays stable, and the bar or dumbbells stay close to your legs instead of drifting forward.
Speed and control matter. Watch for:
- Crashing into the bottom of squats instead of a smooth, controlled descent
- Jerking the weight off the floor in deadlifts instead of building tension before the weight leaves the ground
Big red flags:
- Knees caving in every rep
- Butt wink paired with pain or tightness
- Repeated balance issues or feet wobbling around
These are strong signs that a more structured approach in a private studio can protect your joints while you build real strength.
Upper Body Form Checks for Pressing and Pulling
Upper body lifts can feel fine, right up to the moment a shoulder or elbow starts talking. Video helps you get ahead of that.
For elbow path and wrists:
- Bench and dumbbell pressing: Elbows should not be way out at 90 degrees from your torso or glued to your ribs. Aim for about 30 to 45 degrees out from your body.
- Wrists should be straight and stacked over your forearms, not bent back or folded inward while you press or row.
For shoulder blade movement:
- In rows and pulldowns, shoulder blades should move toward your spine as you pull and then glide apart as you return, instead of staying stuck while your arms do all the work.
- In push-ups and bench work, watch that your shoulders do not creep up toward your ears and your chest does not cave in at the bottom.
Range of motion should match your body, not social media clips. Use video to see if you are forcing depth:
- Bar crashing into your chest while your ribs pop up
- Shoulders over-stretched at the bottom of presses or flys
Notice any pinching, grinding, or sharp pressure. You might need a small tweak, like a different grip width, angle, or a neutral grip with dumbbells, guided by a professional.
Stop and adjust if you see:
- Elbow pain that builds with each set
- Repeated shoulder pinching at the bottom of presses
- Chronic neck tightness after upper body days
At that point, heavier weights are not the answer; smarter form is.
Ten-Point at-Home Form Audit Checklist
To keep this simple, run through this quick checklist in a single session:
- 1) Did you film from at least one useful angle, like side or 45 degrees, for each main lift?
- 2) Did your spine stay mostly neutral, without major rounding or big arching under load?
- 3) Were your knees tracking in line with your toes on lower body lifts?
- 4) Did your heels and forefeet stay planted, with no wobbly base?
- 5) Did your shoulders stay away from your ears and not roll hard forward?
- 6) Were your wrists stacked, not collapsing or twisted?
- 7) Did you move with control, no bouncing, jerking, or crashing into end range?
- 8) Did your last two or three reps look almost as clean as your first two or three on video?
- 9) Did any real pain, not normal muscle burn, show up during or after the set?
- 10) Did you look and feel equally strong side to side, or did you see clear imbalances?
Score each item as:
- Solid: Looks and feels good
- Needs Work: Some wobbles or odd positions
- Hurts: Pain or sharp discomfort
Save notes for which lifts or positions caused trouble. Run this checklist about once a month through the fall. You will see if your self-guided work is helping or if the same issues keep popping up.
At Dubail Fitness Institute in Brickell, we are big fans of lifters who take the time to watch their own movement. When you walk into a private one-on-one session already aware of your patterns, we can go straight to targeted coaching, smarter strength work, and realistic nutrition support that fits your life in Miami.
Build Stronger, Healthier Habits Starting Now
If you are ready to train with intention and see measurable progress, our team at Dubail Fitness Institute is here to guide you. Work one-on-one with a certified strength training personal trainer in Miami who will tailor every session to your current level, goals, and schedule. Take the next step toward better performance, more energy, and lasting confidence by reserving your first session today.